Windows 10 is Microsoft’s most advanced Operating System for PC systems. Just like the previous versions, the latest version of the Windows Operating System also alerts users about the errors and issues of the system. Blue Screen of Death i.e. BSOD Errors is most common on Windows systems. The BSOD Error displays a stop code to troubleshoot the issue. Today’s guide is all about how to fix Windows Stop Code Memory Management BSOD on Windows 10 Systems.

Many Windows users don’t aware of BSOD Errors. They get panic after seeing the error, but in most cases, BSOD errors can be fixed easily by following the simple instructions. Before we jump on to the fixes to resolve this error, let’s collect some useful information about the windows stop code memory management.
What is Memory Management in Windows PCs?
Memory Management keeps an eye on the memory of your system. In other words, it manages the memory of your system by keeping an eye on the data, apps, software, web surfing, and more.
When something goes wrong with memory management, your system will start displaying the BSOD error of Memory Management on the screen again and again. The system will display an error message at regular intervals to alert you. If you do not fix this error, you will end up losing your precious data stored in the system.
Thankfully, we can try out several methods to fix this Stop Code Memory Management BSOD on Windows 10 system. Follow these methods one by one to resolve the issue.
Fix Windows Stop Code Memory Management BSOD
Method 1: Use Windows Memory Diagnostic Tool
Every Windows system comes with a built-in tool to track down the memory of the system. The Memory Diagnostic Tool of Windows PC system helps you to resolve this stop code memory management error.
Step 1:
Press Windows+ R Key to open the Run box and type in MdSched in the search box, hit the Enter button.

Step 2:
Windows Memory Diagnostic Tool will be launched with two options from which you need to select the Click Restart now and check for problems (Recommended).

Step 3:
By selecting this option, the system will start checking for the memory-related issues on your system and if anything is wrong with the memory, you will be prompted with a message which can be seen through Windows Event Viewer.

Credit:- @Windowscentral
If you don’t see any error message, you may want to try out the next method to resolve it.
Read More: – How to Make Games Run Faster on Windows 10?
Method 2: Check for Corrupted Files in your System
Corrupt system files or unwanted files stored in your system could also be the reason behind this Stop Code Memory Management BSOD error on your system. For that reason, you need to check for the corrupted files and if there are any such files presented on the system, you need to remove them immediately.
Step 1:
Open the Command Prompt Window on your system. Click the Windows’ Start Menu and select Command Prompt window from there. Make sure you right-click on the option and select Open as Administrator.
Step 2:
Now, enter the following command and hit the Enter button.
sfc/ scannow

credit:- @microsoft.com
Step 3:
The scanning process for Windows’ corrupted files will begin itself. It will take several minutes to complete the system scanning process. Wait for some time and you will see the final results on your screen.
Method 3: Keep your System and Drives Up-to-date
The most common and easy fix to resolve most Windows errors is by updating your system and its software. If your system carries outdated software or apps, you need to update them immediately to resolve the memory-related errors. The same outdated apps can cause many issues that you need to fix at the earliest.
Step 1:
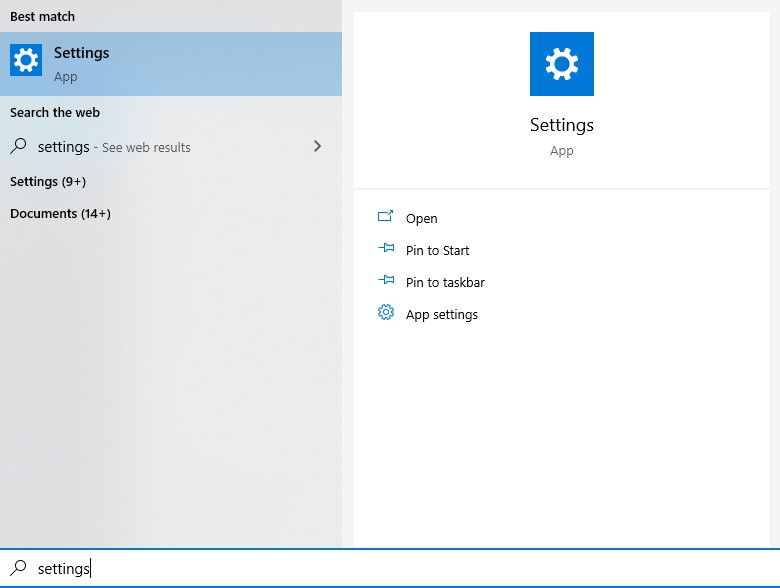
Windows Settings Menu allows you to check the Windows updates easily. You can update your system as well as other files, apps, and software from the same page. To do so, go to your system’s Start Menu and click the Settings menu.
Step 2:
From the Settings menu, click Update and & Security option.
Step 3:
Select the Windows Update option from the left-sidebar. You will see the available updates on the right side. You can manually update the system and its files from the given option.

Step 4:
Once done, Restart your Windows 10 PC once and see if the error is gone.
Method 4: Reset your Operating System
If none of the above-listed tutorials doesn’t work for you, the next thing you need to do is resetting your Operating System.
Step 1:
Open the Start Menu and select the Settings option from there.
Step 2:
From the Settings menu, select the Update & Security option. And then select the Recovery option from the same menu.
Step 3:
On the right side, you will the Windows Recovery menu. Select the Get Started button to start the recovery process or we can say the resetting process of your system.

These are some of the most effective methods of resolving the Stop Code Memory Management BSOD on Windows 10 Operating System. You can also resolve such errors by replacing the faulty hardware from your system. For more information, you can check this here.
The Bottom Line:
We don’t know what causes this error and for that reason, there is no specific fix available with us. To get rid of this Stop Code Memory Management Windows 10, you need to follow the above-given methods one by one on the affected system.
For your convenience, we have also attached screenshots from various sources so that you can easily follow these methods and get positive results at the end.